A Boot Collector Guide
Leather Filler for Scratches and Gouges
Leather filler works best on scratches, scuffs, and shallow gouges — not deep cuts. Worked in thin layers and finished carefully, it can make a repair all but invisible.
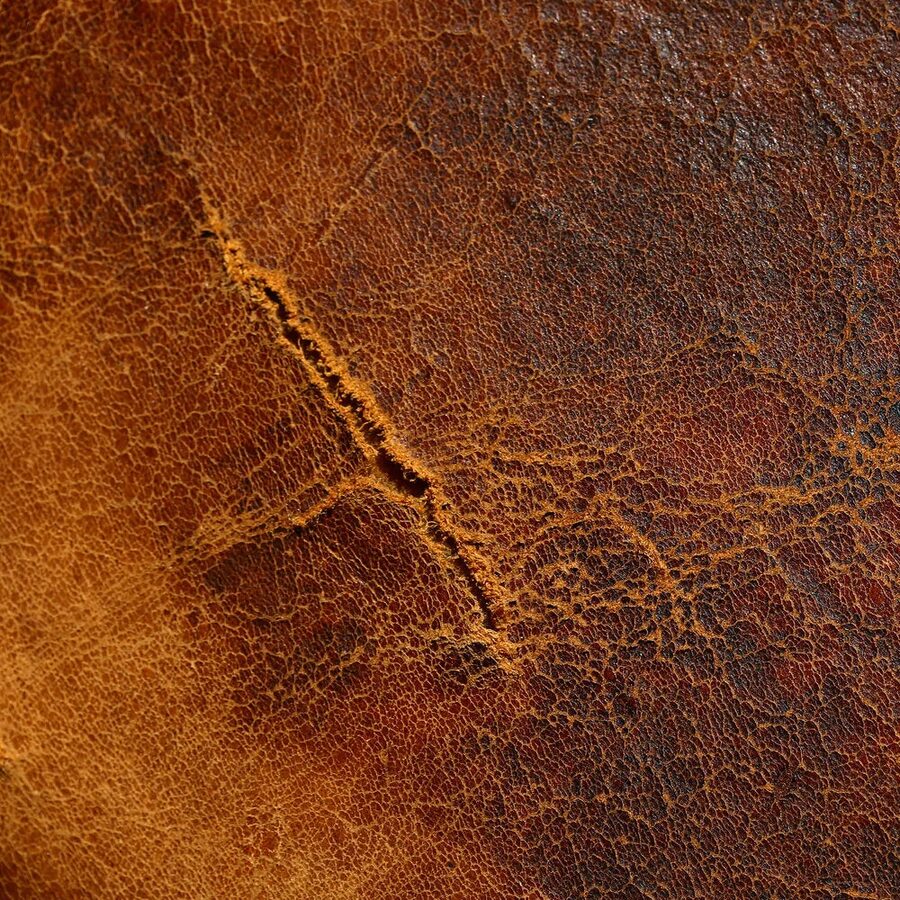
Seven Steps to Repair a Scratch or Gouge
- Clean the leather first.
Remove dirt, dust, and oils with a damp cloth or leather cleaner.
"The filler won't bond properly if the surface isn't clean."
- Lightly sand the scratched area.
Use fine-grit sandpaper (600–1000 grit) to gently smooth the edges of the scratch.
"You're not trying to remove material — just feather the edges so the filler blends seamlessly."
- Apply a small amount of leather filler.
Spread it over the scratch with a plastic spatula, palette knife, or the edge of a credit card. Keep the layer thin, press it into the scratch, and smooth the surface flat.
"Leather filler works best when applied in multiple thin layers, not one thick one."
- Let it dry completely.
Most fillers need 20–30 minutes per layer. It should turn matte and firm, never tacky. For a deep scratch, repeat the cycle — apply, dry, lightly sand, apply again — until it's level.
- Sand the final layer smooth.
Fine-grit sandpaper levels the filler flush with the surrounding leather.
"This step is what makes the repair invisible."
- Re-dye or color-match the area.
Filler dries lighter than the surrounding leather, so you'll need leather dye, cream polish, or edge paint for structured areas — building the color slowly until it matches, since color shifts as it dries.
- Condition and finish.
Once the color is set, apply a leather conditioner, then a cream polish. A finishing wax adds shine if you want it, though we don't generally recommend wax on boots.
"This blends the repair and restores the leather's natural look."
Pro Tips
- →For exotic leathers like caiman or lizard, use filler sparingly — the natural texture makes blending harder to hide unless you also recreate the texture.
- →Always test color on a hidden area first.
- →If the scratch sits on a flex point, like the toe bend, use a flexible leather filler so the repair doesn't crack with movement.